This article is broken into two sections: how to create deals and how to update deals. This is a very simple process.
Creating Deals
There are several ways to create deals, but we are going to look at creating deals from the contact record. Start by navigating to the contact you wish to create a deal for in HubSpot. This will be in the right most column of HubSpot, just below companies
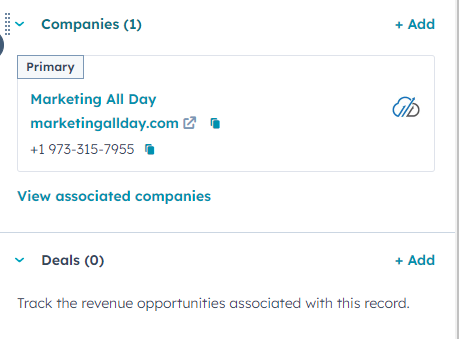
You can begin creating your deal by clicking on the add button next to deals. You will use the form that appears to create your deal. Your deal creation screen may look slightly different depending on what properties are required in your HubSpot account.

Deal name, pipeline and stage are always going to be the first three properties you will be required to fill out. You will be able to change all three of these properties as needed.
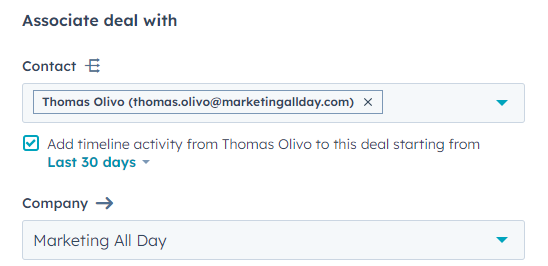
When you get to the bottom of the form, you will notice that the association is automatically created. This is why you want to create deals from the contact level in HubSpot. You are able to associate multiple contacts with the same deal. Just click on the arrow next to the contact's name to search for more contacts.
You will also have the option to add timeline activity to the deal. You are able to choose the amount of time you would like to add for the deal
Once all of your fields have been completed and you have verified that the association is correct, you will just click on create at the bottom of the form. Your deal is now created!
Updating Deals
Updating deals is done the same way as updating contacts or companies within HubSpot. There are three places to update deals in HubSpot: from the deal card, from the properties menu on the left or from the all properties view.
To get started, you will navigate to the deal within HubSpot. From there you will navigate to the appropriate area. Your properties will look different, but the process will be the same for editing any properties.
Deal Card
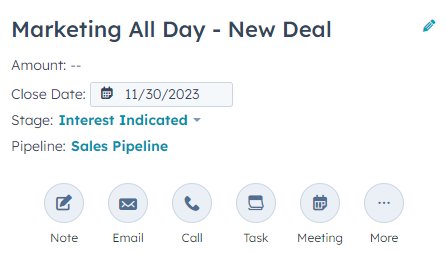
The first place you will be able to edit deal properties is from the deal card on the top left of the deal screen. This area will allow you to edit high level information around the deal, such as the name, amount, close date or deal stage.
You will click on the pencil icon next to the deal name to get started making your changes.
Properties Menu
The second place you will be able to edit deal information is below the deal card on the lefthand menu. You will want to just click on the property you would like to edit. You will be able to make your changes.
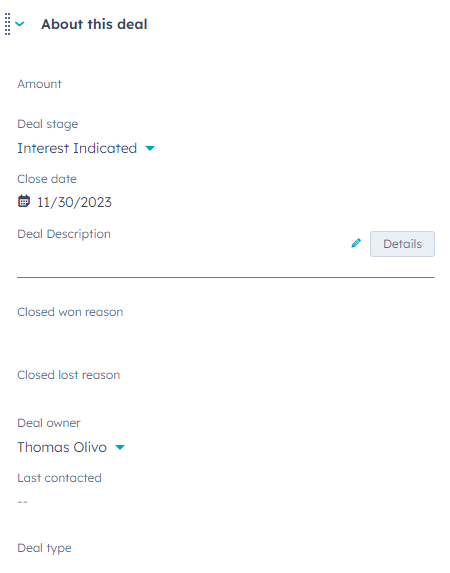
Once you have made changes, you will see the below box appear at the bottom of the screen. Be sure to click on save if you would like to confirm your changes.

All Properties View
If you do not find the property you are looking to edit, scroll down to the bottom of the property list on the left. You will click on view all properties.

This will take you to a list of all of your deal properties. The easiest thing to do is search for the property you would like to update.
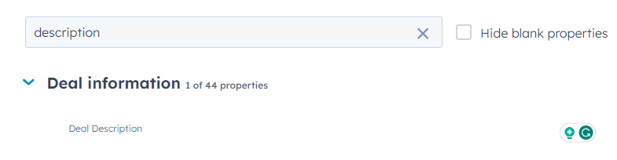
Similar to the properties menu, you will click on the property to start making updates. Once you have made the changes you need, you will once again be prompted to save your deal.
Be sure to click on save if you would like to commit all of the changes you have made. After you click on save, your deal is updated to reflect all of the changes you have made.