To get started installing the HubSpot widget, you will navigate to app launcher then scroll to the bottom of the first section. On the right you will see HubSpot.
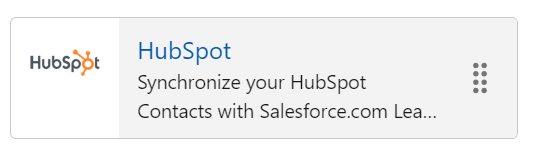
This app will allow you to see some basic deal and lead information from HubSpot in Salesforce.
To actually view more detailed information in Salesforce, you will need to install the HubSpot widget in Salesforce.
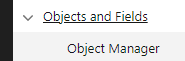
You will do this by clicking on settings, then set up. Click on Objects and Fields, then Object Manager.
Scroll down to the object you would like to add the widget for. Click on page layouts, then on the layout name you wish to edit.
![]()
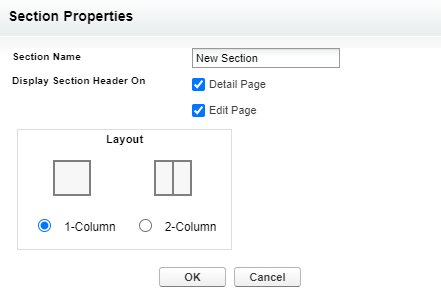
Start by dragging a new section to where you need in Salesforce.
![]()
Make sure to give it a name that makes sense, such as HubSpot Information. Also make sure to select the layout as one column.
Scroll back up to the top and use the section editor to choose the module you want to add.
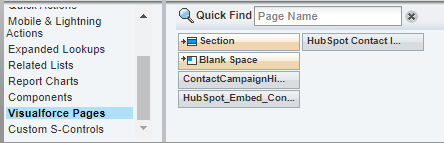
You will want to choose the one that is called HubSpot_embed_object_V2.
![]()
Drag this into the section you just created. Now use the wrench icon in the top right corner to edit this field.

You will need to change the height to 500 pixels. It should look like the image below. Make sure you click on OK to save.

Once done, you will now click on save in the top left of the screen.
![]()
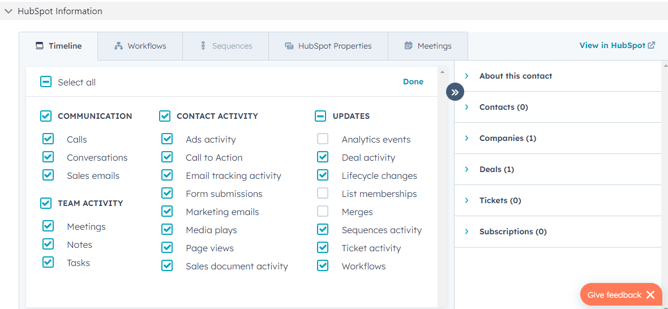
To make sure your changes have been applied, you will want to click into any contact (or whatever object you have added this for) and make sure the below box appears.
You have successfully installed the HubSpot add-in for that object!