Step 1:
First, you will want to log in to your HubSpot account. In the top right corner, you will see the icons shown below.

You will click on settings (the gear icon).
Step 2:
Next, you can use the menu on the left side of the screen to select notifications.
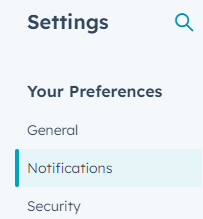
Once this is selected you will arrive on a screen that looks like the one below.
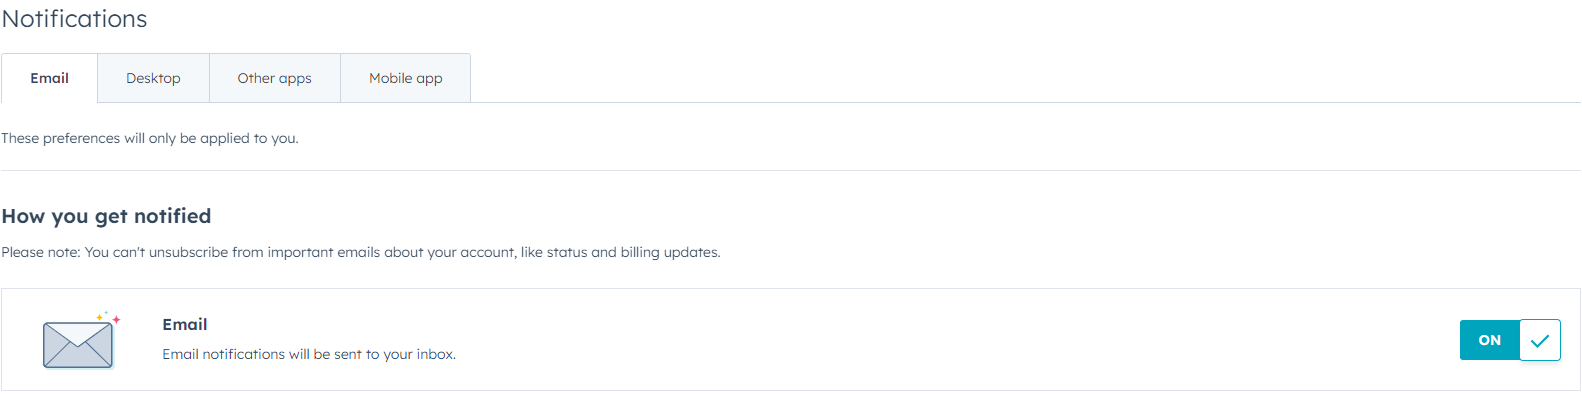
Make sure you are on the email tab, and that email notifications are turned on. Below you will see the following text. This is where you want to look for step 3.
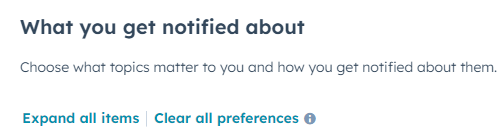
Step 3:
The second from the bottom option is the one we wish to select.
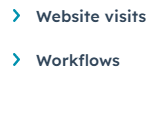
Once website visits are selected, your options will look like the screen below.
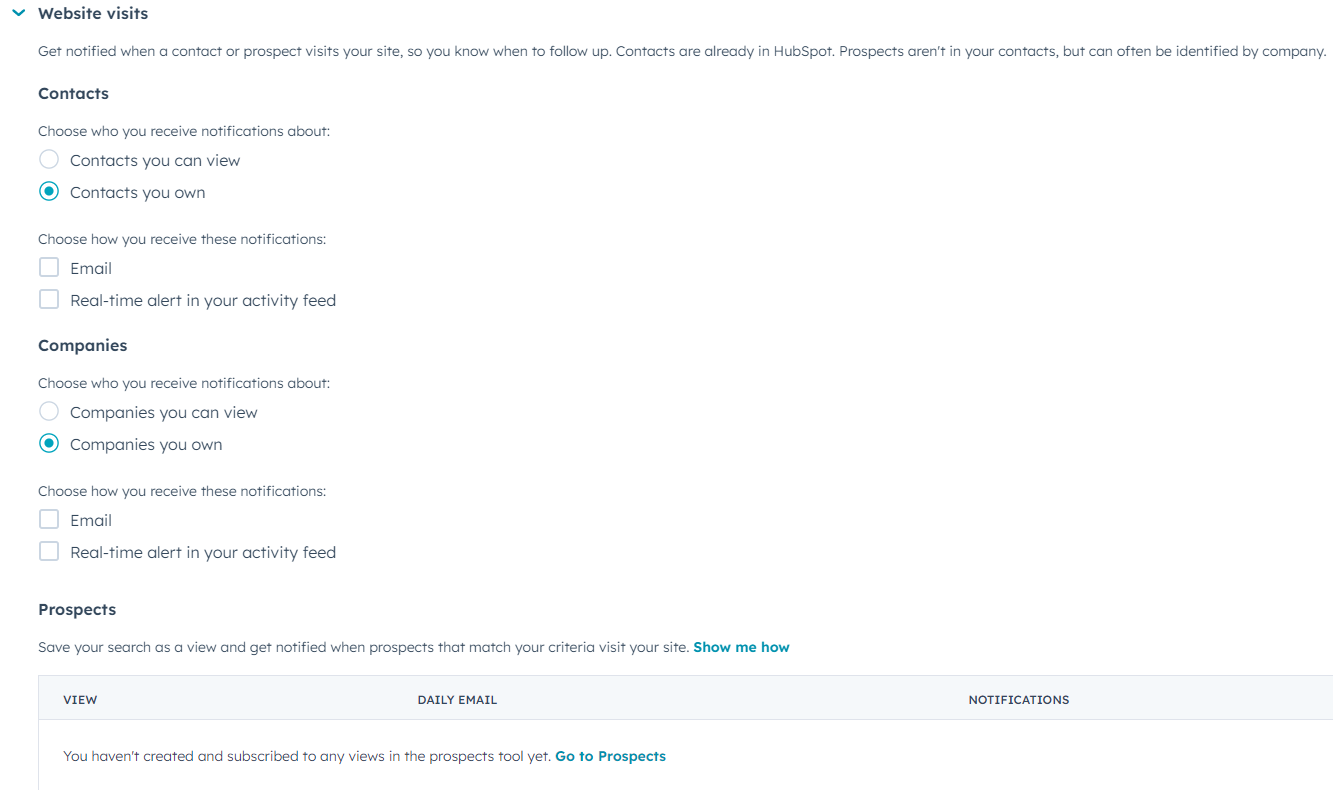
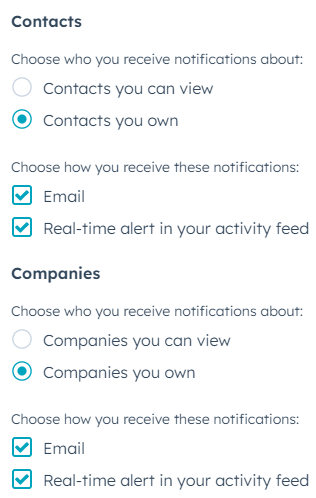
Here, you will want to ensure that the contacts you own and the companies you own are checked off. You will also want to select to receive these notifications in both email and real-time alerts. You will need to do this twice, once for companies and once for contacts.
If done correctly it will look like the below image.
Step 4:
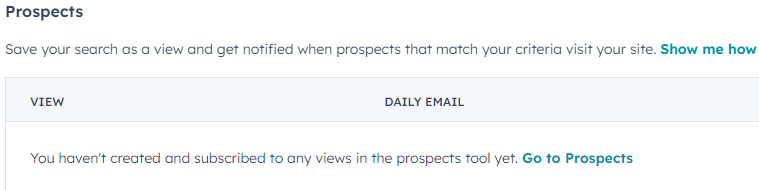
Below these settings is another setting for prospects. This function is not set up yet and is best to leave blank.
Once you are finished making these changes, make sure you hit save at the bottom of the screen.

You will get the below message once you successfully save your changes.
